Description:
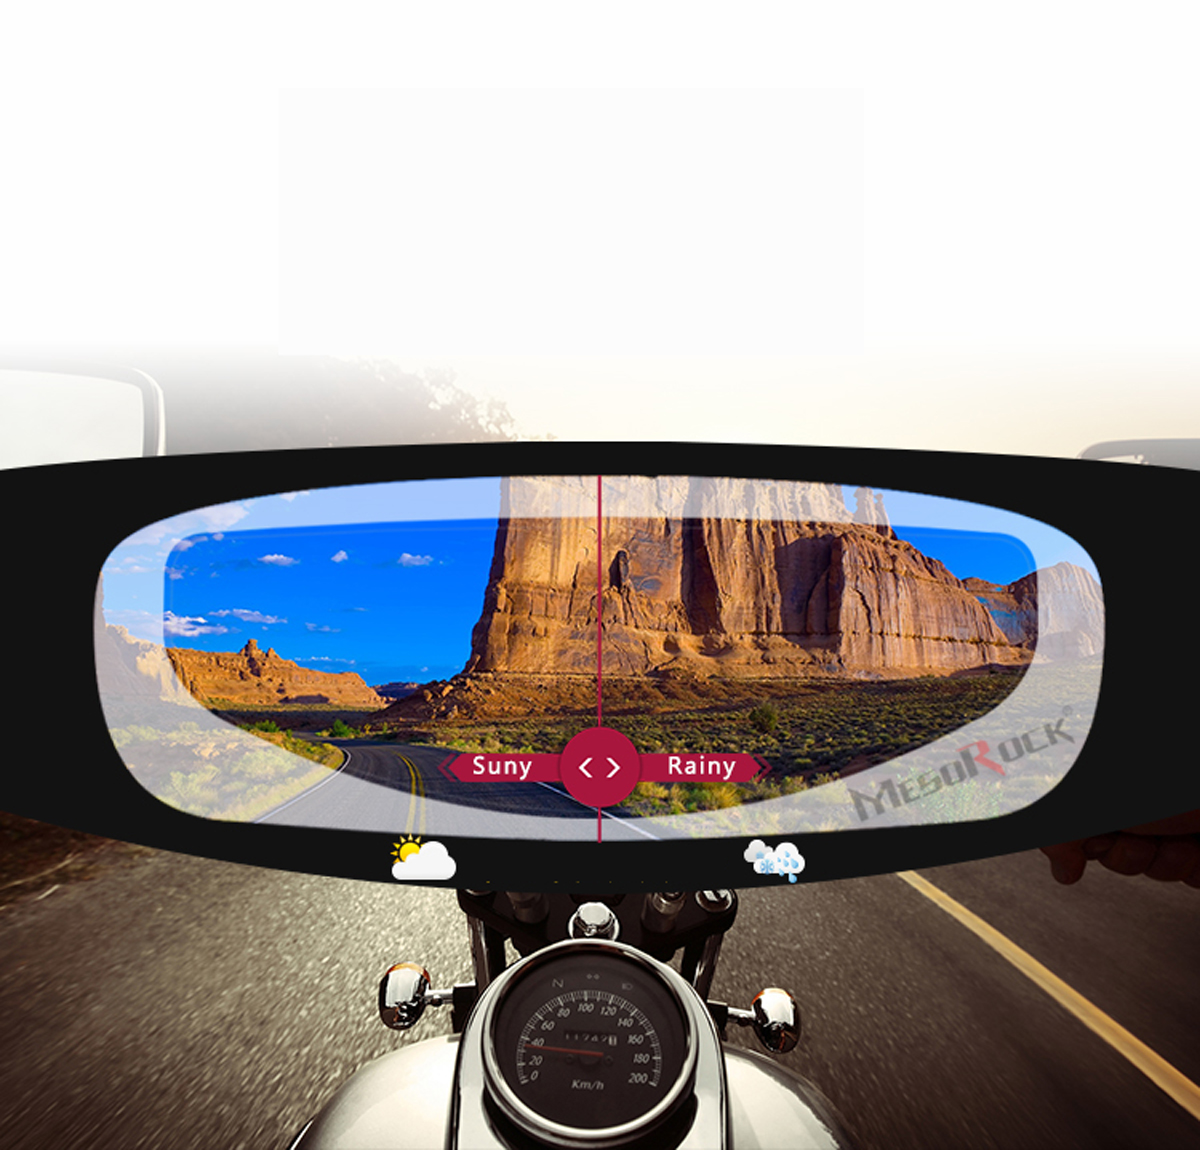
1. The photochromic material will be activated immediately because of UV light and this means that the insert will have a darker color.
2. This offers perfect vision on the road even when you are riding in full sunshine.
The insert will not catch UV light at night meaning the insert will be clear under these conditions.
A perfect advantage because you will only need to take one shield with you!
2. This offers perfect vision on the road even when you are riding in full sunshine.
The insert will not catch UV light at night meaning the insert will be clear under these conditions.
A perfect advantage because you will only need to take one shield with you!
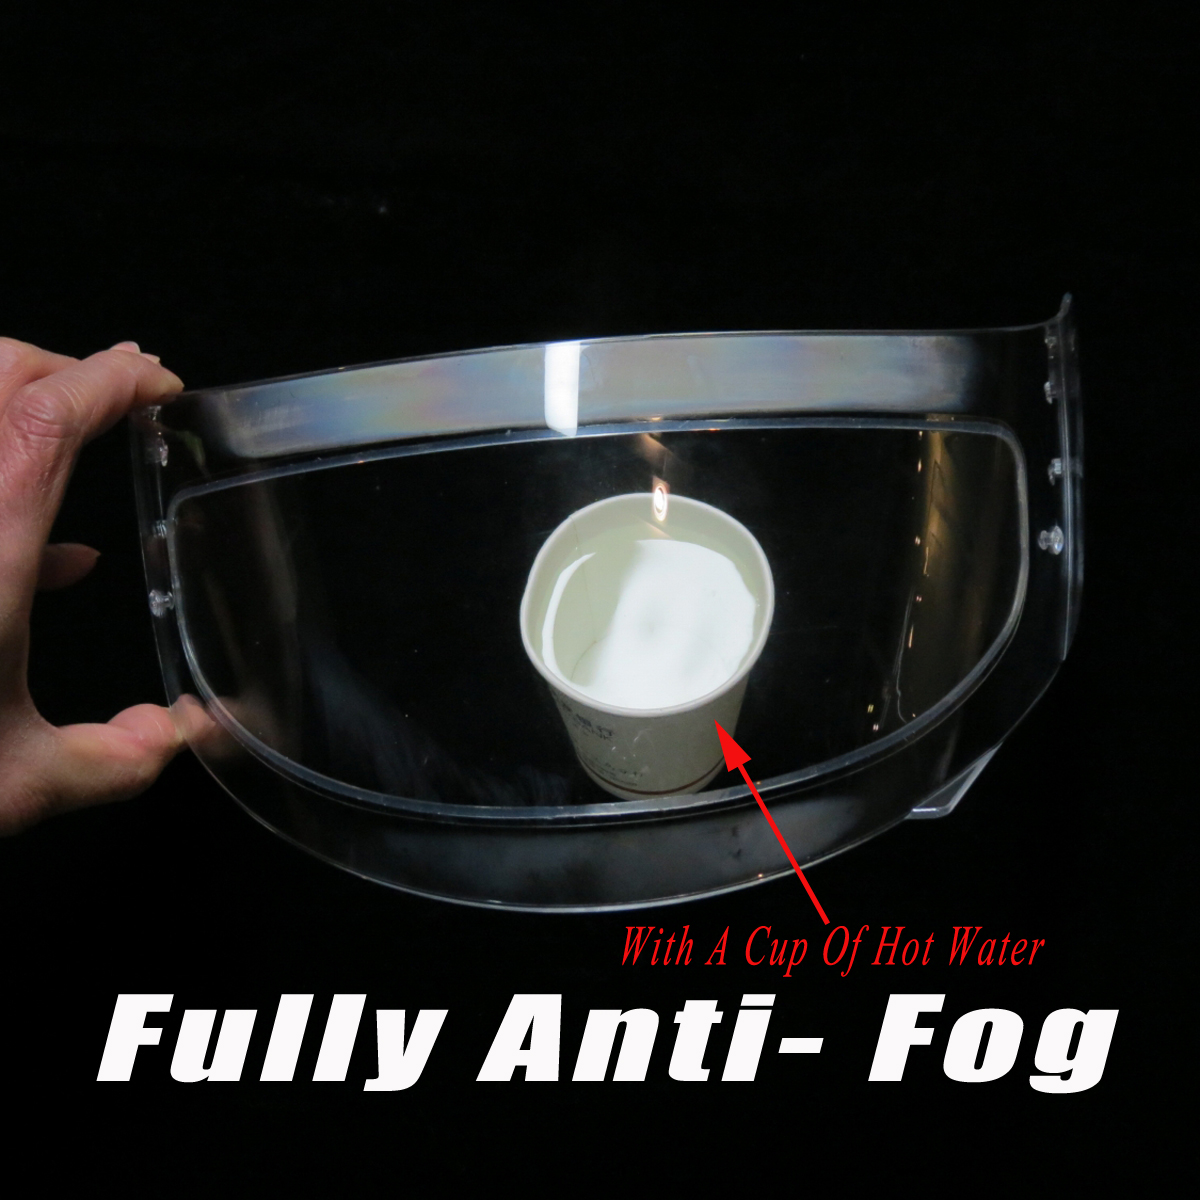
3. Anti-fog visor insert - better optical clarity with lower distortion,more abrasion resistant.
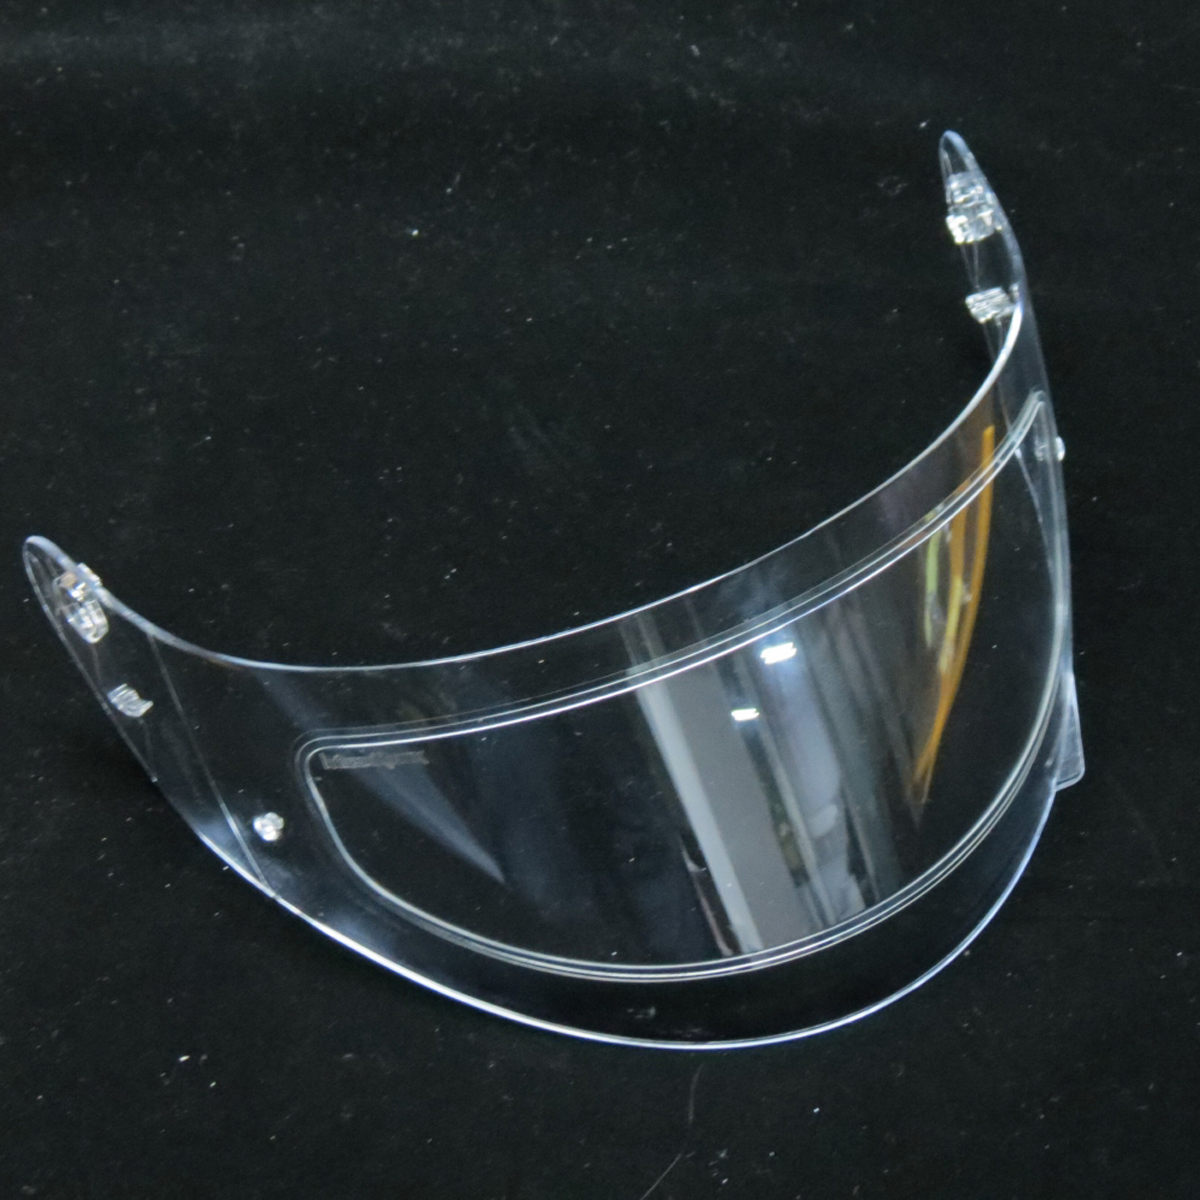
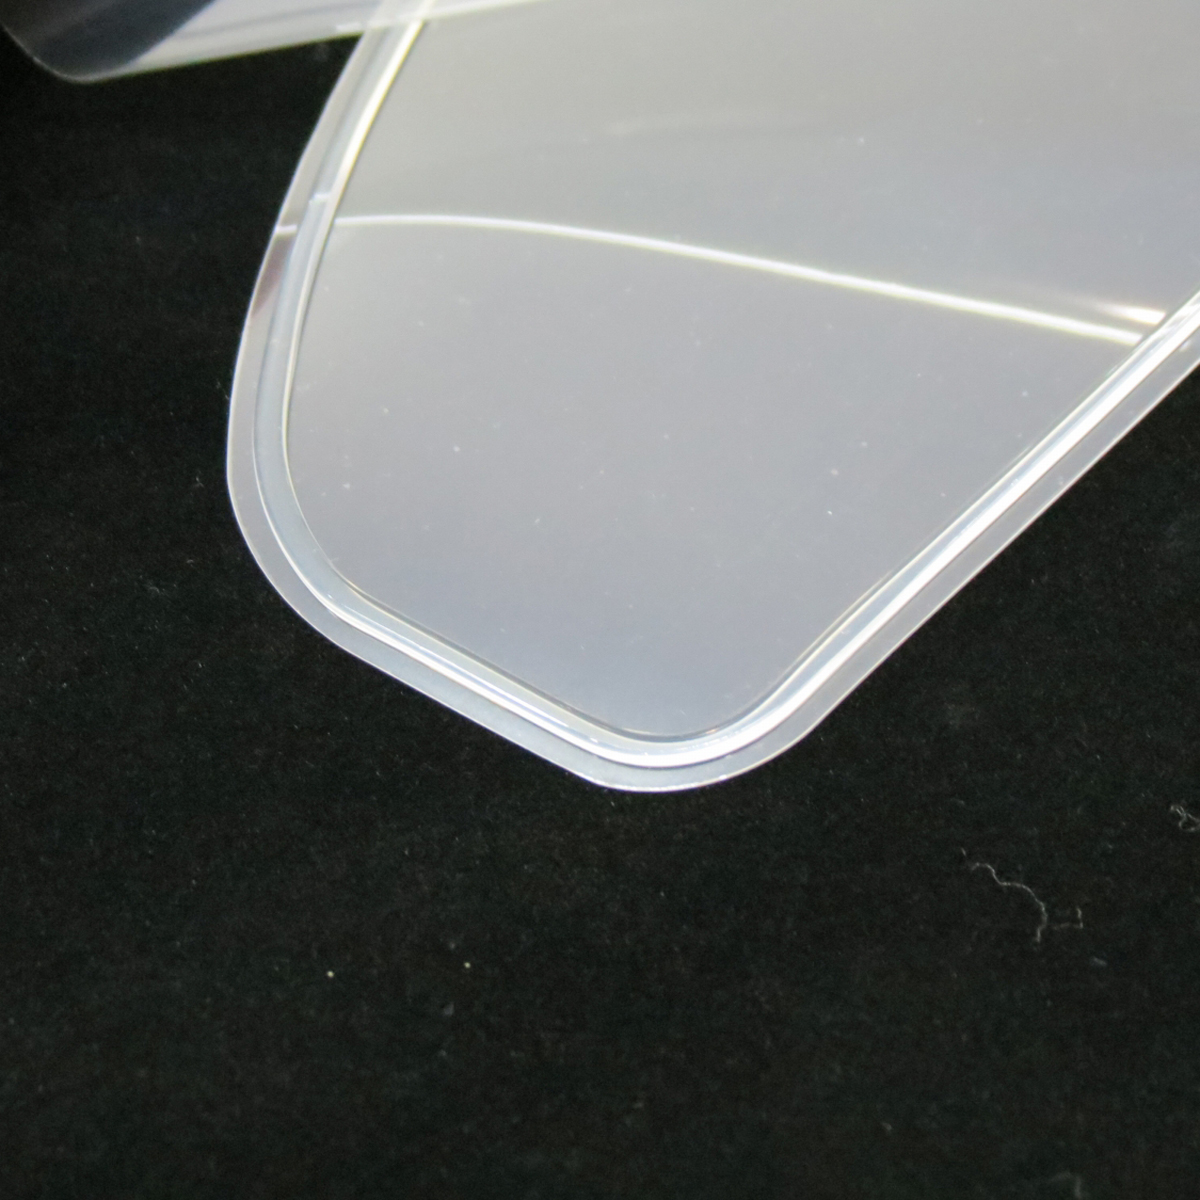
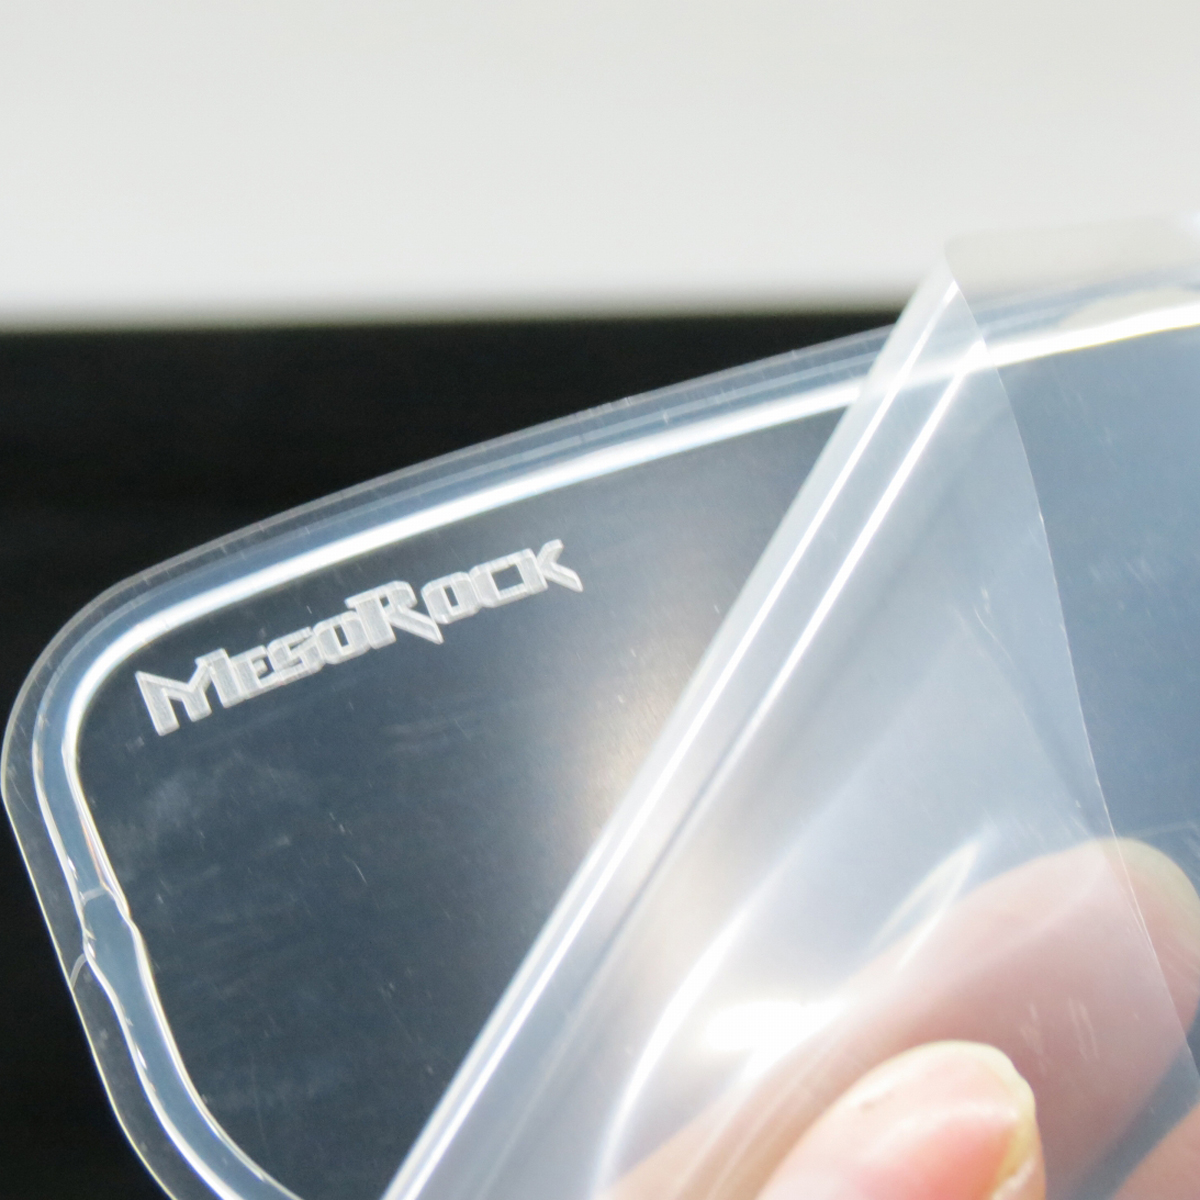
4. Helmet anti-fog film with circled back adhesive,easy to operate and paste,NO CUTTING can be made.Please confirm the size of your helmet before ordering.
5. Helmet visor insert with anti-fog coating,which effectively clearer your sight and better view in a rainy or foggy day, protects your driving safety.
Suitable for most motorcycle standard visor/shield,anti-fog lens insert.
Specification:
Brand: Elecdeer
Anti-Fog Side: Both Sides
Condition: Brand New
Material: TAC, Not Cheap PC Or Plastic
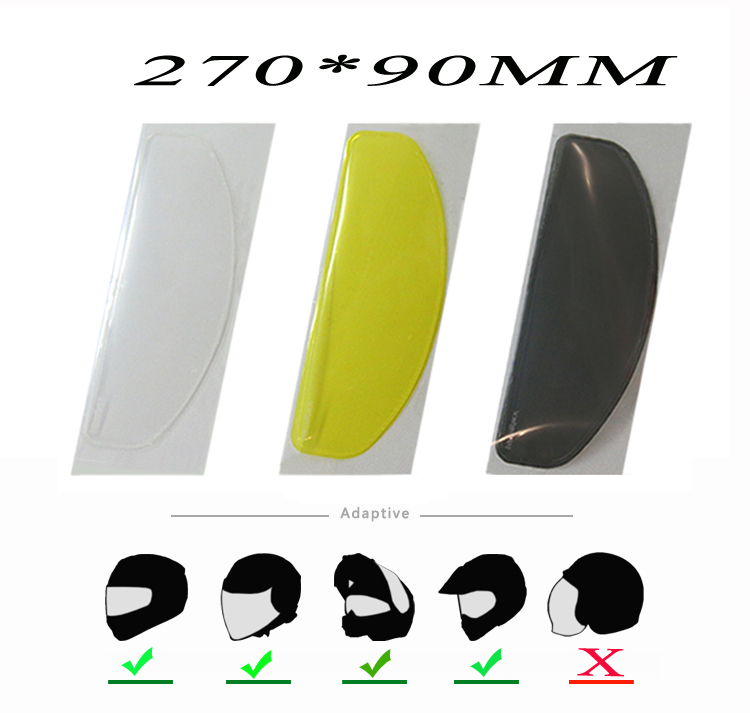
Dimension: 27*9CM
Color: Clear/Yellow/Dark Grey
Fitment: Universal Fits, Check Your Helmet Size Before Purchasing
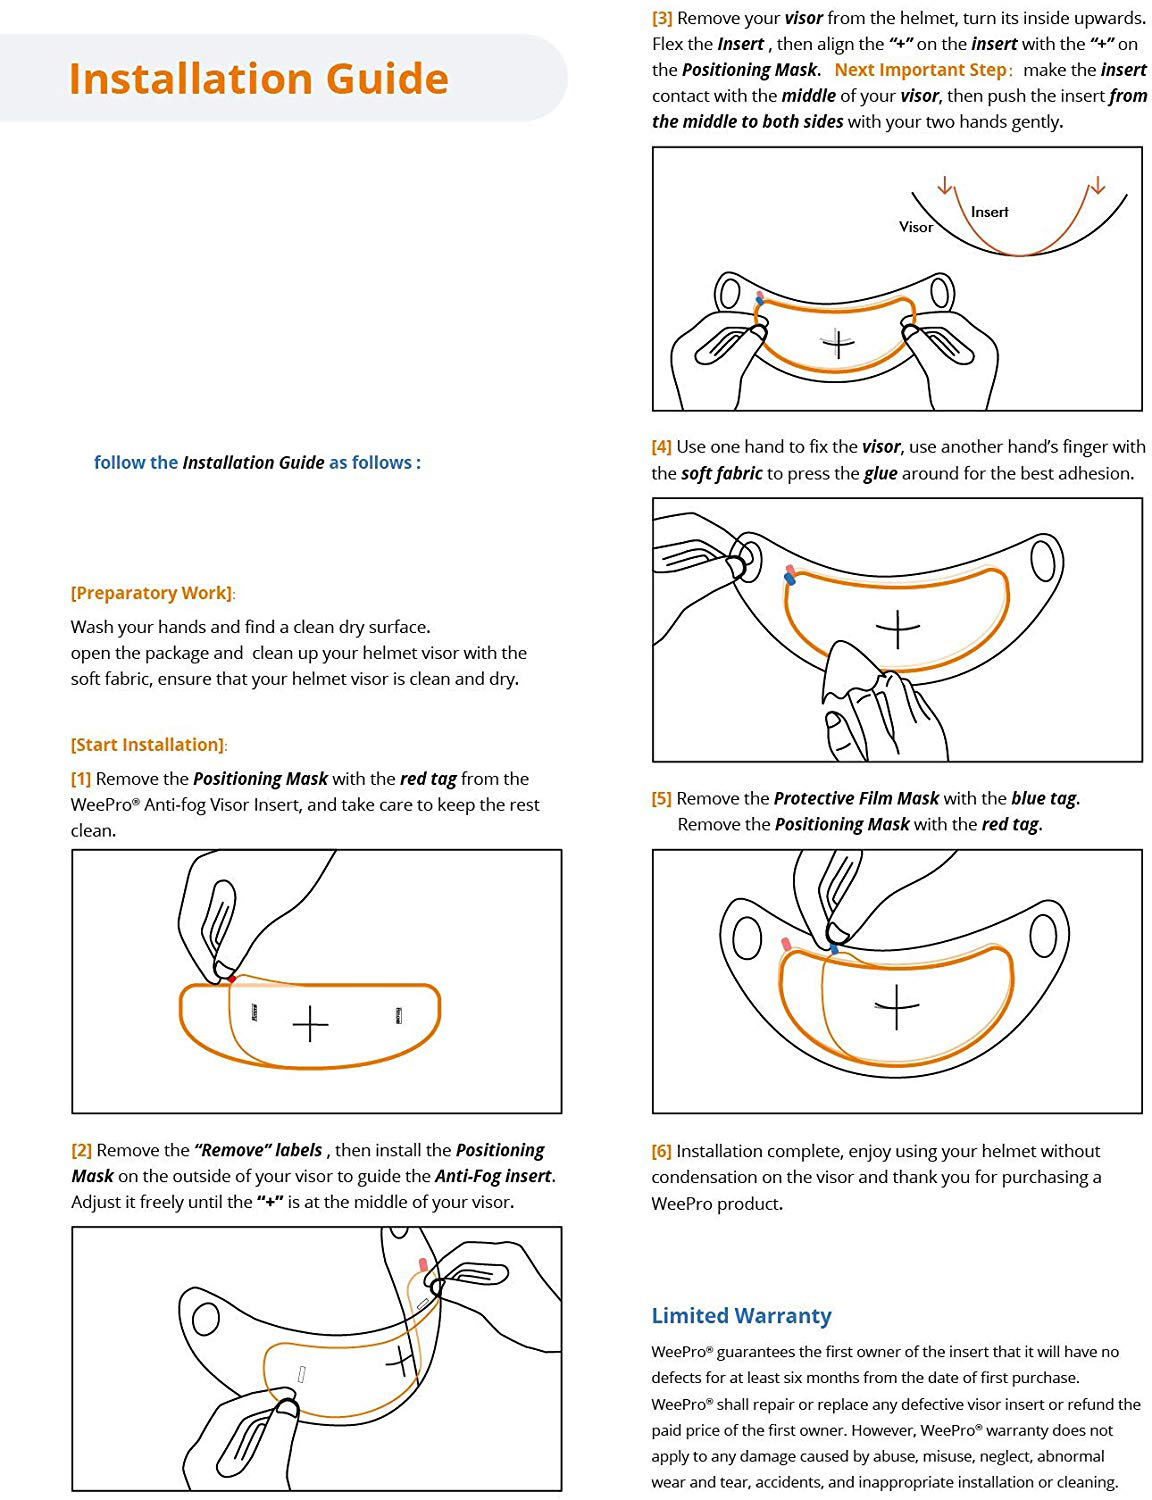
Installation Guide as Follows:
Wash your hands and find a clean dry surface, open the package clean up your helmet visor with the soft fabric,
ensure that your helmet visor is clean and dry.
ensure that your helmet visor is clean and dry.
Step 1: Remove the Positioning Mask with the red tag from the WeePro Anti-fog Visor Insert, and take care to keep the rest clean.
Step 2: Remove the “Remove” labels, then install the Positioning Mask on the outside of your visor to guide the Anti-Fog insert.
Adjust it freely until the “+” is at the middle of your visor.
Adjust it freely until the “+” is at the middle of your visor.
Step 3: Remove the visor from your helmet, turn its inside upwards. Flex the insert, then align the “+” on the insert with the “+” on
the Positioning Mask. Next Important Step, make the insert contact with the middle of your visor, then push the insert from the
middle to both sides with your two hands gently.
the Positioning Mask. Next Important Step, make the insert contact with the middle of your visor, then push the insert from the
middle to both sides with your two hands gently.
Step 4: Use one hand to fix the visor, use another hand’s finger with the soft fabric to press the glue around for the best adhesion
Step 5: Remove the Protective Film Mask with the blue tag. Remove the Positioning Mask with the red tag.
Step 6: Installation complete, enjoy using your helmet without condensation on the visor .
Note:
The lens is not included
Package Included:
1 X Helmet Insert Film


